This is a simple tutorial where you can learn how to create a Laravel application using Laravel, PHP, and MySQL. Learn how to let users register, log in, log out, create blog posts, query for only blog posts they’ve authored, and more. My motivation is to learn more about Laravel, watch tutorials, and recreate as much code on my own as I can. I found one great tutorial for beginners on YouTube and made some comments about it. You will write code and delete code on the go to learn as much as possible. Here is the original YouTube video, source code, and below you will find my notes for this video. I hope it will help you better understand how Laravel works if you don’t have time to watch the entire video.
Source code: https://github.com/LearnWebCode/youtube-laravel-demo
Contents
- Create new Laravel project
- Open Laravel project in code editor (VSC recomendded)
- Create home.blade.php view
- Rendering the view home.blade.php
- CSRF token
- How to make UserController
- UserController.php first function
- Adding post route with class function in web.php
- UserController.php validate input fields
- Laravel .env file
- Laravel migrations
- Laravel artisan command line migrate
- Laravel models
- Usercontroller.php hashing password
- Register user and look in database
- Usercontroller.php login and logout function – sessions and cookies
- Rules and constraints in data validation
- Log Out
- Log in
- Login function in UserController.php
- Database Schema builder
- Create post view in home.blade.php
- PostController.php
- Make model Post.php
- Web.php for posts
- View home.blade.php for All posts
- Web.php – posts without relationship use
- Web.php display user posts using User model
- Edit and delete posts
- Displaying username
Create new Laravel project
- Navigate to the Laravel project directory:
C:\wamp64\www\BackEndDeveloper>cd laravel
- Create a new Laravel project in the current directory using Composer:
12C:\wamp64\www\BackEndDeveloper\laravel>composer create-project laravel/laravel .
This command fetches the Laravel framework and installs it in the current directory (denoted by
.). - After creating the project, go back to the main directory and start the Laravel development server:
12C:\wamp64\www\BackEndDeveloper>php artisan serve
This command starts the development server, and you should be able to access your Laravel application at the provided URL (usually http://127.0.0.1:8000) in your web browser.
Make sure WampServer is running and configured correctly for PHP and other dependencies required by Laravel. If you encounter any issues, check the error messages or logs for more information.
Open Laravel project in code editor (VSC recomendded)
- Creating a New View:
- Open your terminal or command prompt.
- Navigate to your Laravel project directory.
- Use the
make:viewArtisan command to create a new Blade view. For example:12php artisan make:view your_view_name
This will create a new Blade view file named
your_view_name.blade.phpin theresources/viewsdirectory. - View Location:
- By default, the
resources/viewsdirectory is where Laravel stores its Blade views. The new view file you created will be located in this directory.
- By default, the
- Editing the View:
- Open the newly created Blade view file in a text editor of your choice.
- Customize the content of the view according to your needs.
Create home.blade.php view
|
1 2 3 4 5 6 7 8 9 10 11 12 13 14 15 16 17 18 19 20 |
<!DOCTYPE html> <html lang="en"> <head> <meta charset="UTF-8"> <meta name="viewport" content="width=device-width, initial-scale=1.0"> <meta http-equiv="X-UA-Compatible" content="ie=edge"> <title>Laravel tutorial</title> </head> <body> <div style="border: 3px solid black;"> <h2>Register</h2> <form action="/register" method="POST"> <input type="text" placheholder="name"> <input type="email" placholder="email"> <input type="password" placeholder="password"> <button>Register</button> </form> </div> </body> </html> |
Rendering the view home.blade.php
In Laravel, routes are typically defined in the routes directory of your project. The main file where you can define routes is: web.php. This file is used for defining routes that are associated with web-based interfaces. It includes routes for handling HTTP requests like GET, POST, etc. The routes defined in web.php are usually associated with web pages and user interactions.
|
1 2 3 4 5 6 7 8 9 10 11 12 13 14 15 16 17 18 19 20 21 22 |
<?php use Illuminate\Support\Facades\Route; /* |-------------------------------------------------------------------------- | Web Routes |-------------------------------------------------------------------------- | | Here is where you can register web routes for your application. These | routes are loaded by the RouteServiceProvider within a group which | contains the "web" middleware group. Now create something great! | */ Route::get('/', function () { return view('home'); }); Route::post('/register', function() { return 'thank you'; }); |
When we click on the ‘Register’ button in our home.blade.php view, we must include the @csrf token for POST requests; otherwise, we may encounter an error.
CSRF token
When you have a form in your home.blade.php view, especially for actions like user registration, it’s important to include the CSRF token to protect against CSRF attacks. CSRF tokens help ensure that the form is submitted by the same application that renders the form and not by a malicious third party.
|
1 2 3 4 5 6 7 |
<form action="/register" method="POST"> @csrf <input type="text" placheholder="name"> <input type="email" placholder="email"> <input type="password" placeholder="password"> <button>Register</button> </form> |
Now, when we click the ‘Register’ button, the return function displays the text ‘thank you’.
We need to move functions from the web routes to the controller, located at app/Http/Controllers. Let’s name it UserController. To do this, we should create the UserController.php file.
How to make UserController
|
1 |
php artisan make:controller UserController |
UserController.php first function
|
1 2 3 4 5 6 7 8 9 10 11 12 13 |
<?php namespace App\Http\Controllers; use Illuminate\Http\Request; class UserController extends Controller { //here we can put function public function register() { return 'Hello from our controller'; } } |
Now, let’s go to web.php, remove the function, and add the controller function. Additionally, we need to import the UserController class.
Adding post route with class function in web.php
|
1 2 3 4 5 6 7 8 9 10 11 12 13 14 15 16 17 18 19 20 21 |
<?php use App\Http\Controllers\UserController; use Illuminate\Support\Facades\Route; /* |-------------------------------------------------------------------------- | Web Routes |-------------------------------------------------------------------------- | | Here is where you can register web routes for your application. These | routes are loaded by the RouteServiceProvider within a group which | contains the "web" middleware group. Now create something great! | */ Route::get('/', function () { return view('home'); }); Route::post('/register', [UserController::class, 'register']); |
It’s convenient to have a PHP extension for Visual Studio Code called ‘PHP Namespace Resolver for importing classes.
UserController.php validate input fields
|
1 2 3 4 5 6 7 8 9 10 11 12 13 14 15 16 17 18 |
<?php namespace App\Http\Controllers; use Illuminate\Http\Request; class UserController extends Controller { public function register(Request $request) { // with Request class and $request variable we are catching the input data from input fields $incomingFields= $request->validate([ 'name' => 'required', 'email' => 'required', 'password' => 'required' ]); return 'Hello from our controller'; } } |
We must name the input fields in home.blade.php so they can get forwarded to $request.
An error has occurred. Please try again later. |
Let’s add some more validation rules for input fields.
|
1 2 3 4 5 6 7 8 |
public function register(Request $request) { $incomingFields= $request->validate([ 'name' => ['required','min:3', 'max:10'], 'email' => ['required','email'], 'password' => ['required','min:8', 'max:200'] ]); return 'Hello from our controller'; } |
Laravel .env file
In the .env file, configure the database connection settings to store this data in it. After configuring the database settings, we need to perform a migration.
The .env file in Laravel is used for environment-specific configuration, allowing you to define various settings for your application. In the context provided, it suggests configuring the database connection details within the .env file.
Database Connection Configuration:
Laravel uses the .env file to store sensitive information, such as database connection details (e.g., database name, username, password).
|
1 2 3 4 5 6 |
DB_CONNECTION=mysql DB_HOST=127.0.0.1 DB_PORT=3306 DB_DATABASE=your_database_name DB_USERNAME=your_database_username DB_PASSWORD=your_database_password |
Laravel migrations
- Once the database connection is configured, Laravel migrations are used to create database tables or modify existing ones.
- To run migrations, you use the Artisan command:
php artisan migrate. - This command reads migration files in the
database/migrationsdirectory and applies the changes to the database schema. - Example migration file (
database/migrations/2022_01_01_create_users_table.php):
|
1 2 3 4 5 6 7 8 9 10 11 12 |
public function up() { Schema::create('users', function (Blueprint $table) { $table->id(); $table->string('name'); $table->string('email')->unique(); $table->timestamp('email_verified_at')->nullable(); $table->string('password'); $table->rememberToken(); $table->timestamps(); }); } |
Laravel artisan command line migrate
After configuring the database settings, we need to perform a migration:
|
1 |
php artisan migrate |
If the migration encounters issues, we can execute a rollback:
|
1 |
php artisan migrate:rollback |
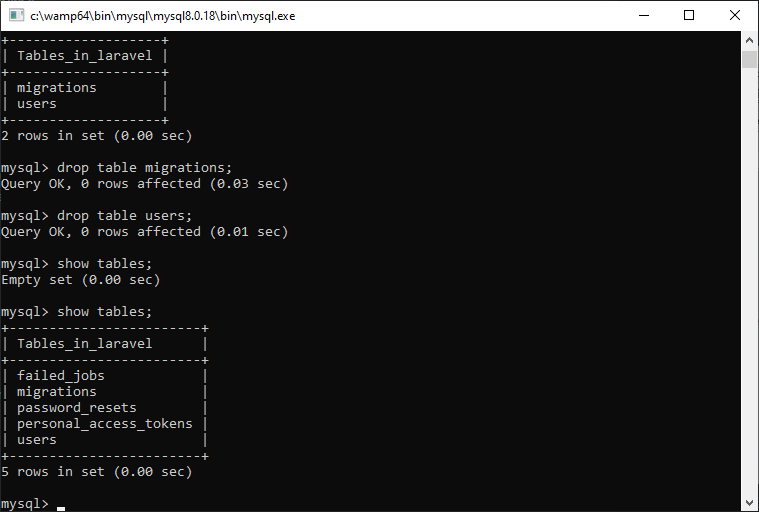
If that doesn’t work, manually delete the tables created in the new database by the migration (e.g., tables like ‘users’), and then run the migration again.
For Windows users, it’s advisable to check the database configuration, specifically the engine, located in config/database.php. Ensure that the engine is set to 'InnoDB':
|
1 |
'engine' => 'InnoDB', |
Then, run the migration once more:
|
1 |
php artisan migrate |
Laravel models
To create a record in the database after validation in the register function, we want to instantiate a new instance of the User model.
A MODEL IS A MENTAL MAPPING OF DATA FOR AN ITEM OR ENTITY.
So, we will have a model for blog posts, a model for registration, and a model for post comments.
A MODEL maps data structures and relationships for a specific portion of data.
LARAVEL ALREADY PROVIDES A USER MODEL FOR US!
Usercontroller.php hashing password
Let’s hash the user’s password
|
1 2 3 4 5 |
// Hash the user's password $incomingFields['password'] = bcrypt($incomingFields['password']); // Create a new user using mass assignment User::create($incomingFields); |
This ensures that the user’s password is hashed before being stored in the database. The bcrypt function is used for secure password hashing in Laravel.
Never store a password in plain text in the database!!! Let’s also add the User namespace to the controller.
|
1 2 3 4 5 6 7 8 9 10 11 12 13 14 15 16 17 18 19 20 21 22 23 |
<?php namespace App\Http\Controllers; use App\Models\User; use Illuminate\Http\Request; class UserController extends Controller { //ovdje stavljamo funkcije public function register(Request $request) { // sa Request hvatamo ulazne podatke iz input polja $incomingFields= $request->validate([ 'name' => ['required','min:3', 'max:10'], 'email' => ['required','email'], 'password' => ['required','min:8', 'max:200'] ]); $incomingFields['password']=bcrypt($incomingFields['password']); User::create($incomingFields); return 'Hello from our controller'; } |
Register user and look in database
Try your program, and register a user and look into the database to see if the user is registered and his password hashed.
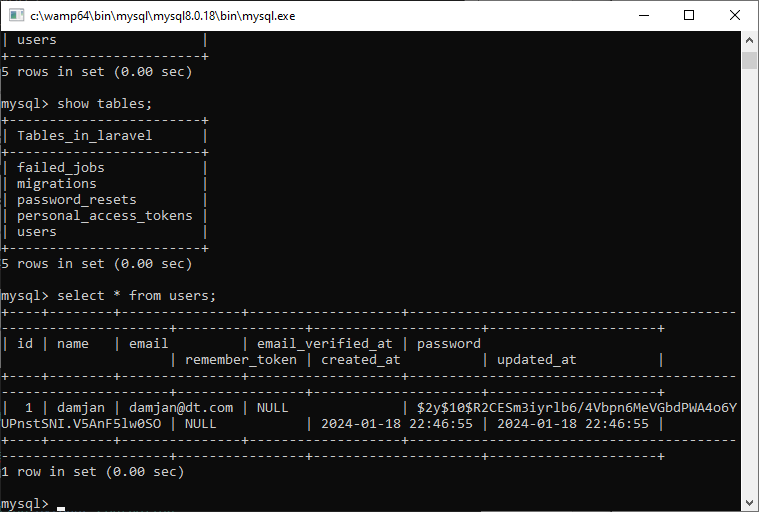
As you can see here, the password is hashed.
|
1 2 3 4 5 6 7 8 |
// Hash the user's password before creating the user $incomingFields['password'] = bcrypt($incomingFields['password']); // Create a new user using mass assignment $user = User::create($incomingFields); // Log in the user using the globally accessible Auth function and the login method auth()->login($user); |
Rules and constraints in data validation
Let’s add a rule where username and email must be unique. That laravel can look into the database, that the same user and email do not exist. In the users table, the field user and email must be unique.
|
1 2 3 4 5 6 7 8 9 10 11 12 13 14 15 16 17 18 19 20 21 22 23 24 25 26 27 28 29 |
<?php namespace App\Http\Controllers; use App\Models\User; use Illuminate\Http\Request; use Illuminate\Validation\Rule; class UserController extends Controller { //ovdje stavljamo funkcije public function register(Request $request) { // sa Request hvatamo ulazne podatke iz input polja $incomingFields= $request->validate([ 'name' => ['required','min:3', 'max:10', Rule::unique('users', 'name')], 'email' => ['required','email', Rule::unique('users', 'email')], 'password' => ['required','min:8', 'max:200'] ]); $incomingFields['password']=bcrypt($incomingFields['password']); $user= User::create($incomingFields); //prije ove linije, ajmo hashirati korisnikovu lozinku auth()->login($user); // return 'Hello from our controller'; return redirect('/'); } } |
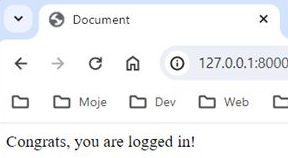
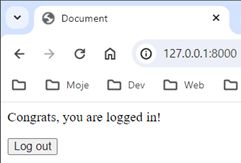
To check that we are really logged in, go to the home.blade.php template.
|
1 2 3 4 5 6 7 8 9 10 11 12 13 14 15 16 17 18 19 20 21 22 23 24 25 26 |
<html lang="en"> <head> <meta charset="UTF-8"> <meta name="viewport" content="width=device-width, initial-scale=1.0"> <meta http-equiv="X-UA-Compatible" content="ie=edge"> <title>Document</title> </head> <body> @auth <p>Congrats, you are logged in!</p> @else <div style="border: 3px solid black;"> <h2>Register</h2> <form action="/register" method="POST"> @csrf <input name="name" type="text" placeholder="name"> <input name="email" type="email" placeholder="email"> <input name="password" type="password" placeholder="password"> <button>Register</button> </form> </div> @endauth </body> </html> |
Alright, let’s create a route to navigate beyond the current page. Additionally, we require a log out button within home.blade.php, placed inside a form and accompanied by the CSRF token, of course.
|
1 2 3 4 5 6 7 |
@auth <p>Congrats, you are logged in!</p> <form action="/logout" method="POST"> @csrf <button>Log out</button> </form> @else |
Now, let’s define the route in web.php.
|
1 2 |
Route::post('/register', [UserController::class, 'register'])->name('register'); Route::post('/logout', [UserController::class, 'logout']); |
Log Out
Now, we need to define the logout function in UserController.php.
|
1 2 3 4 |
public function logout() { auth()->logout(); return redirect('/'); } |
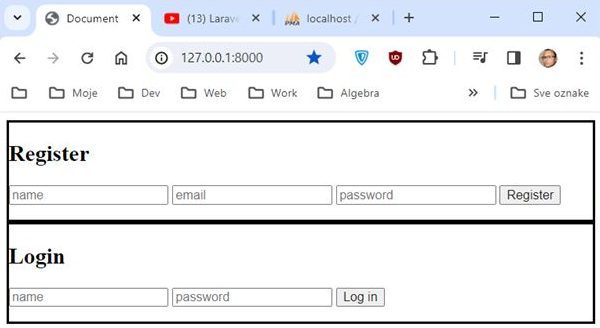
Let us try accessing 127.0.0.1:8000 in our web browser to see if we have all the elements now and that everything is working properly.
Log in
Now that we have the option for registration and login through the registration function, we want to add the option for login without registration. Below the registration form, let’s create a login form in home.blade.php.
|
1 2 3 4 5 6 7 8 9 10 11 |
</div> <div style="border: 3px solid black;"> <h2>Login</h2> <form action="/login" method="POST"> @csrf <input name="loginname" type="text" placeholder="name"> <input name="loginpassword" type="password" placeholder="password"> <button>Login</button> </form> </div> @endauth |
To avoid having the same names for input fields in the same view (home.blade.php), we’ve changed them to ‘loginname’ and ‘loginpassword’. We also modified the form action to ‘/login’. This login form will submit data to that URL ‘/login’. Let’s check now how this looks.
Now, we need to add the login route in web.php.
|
1 2 3 |
Route::post('/register', [UserController::class, 'register'])->name('register'); Route::post('/logout', [UserController::class, 'logout']); Route::post('/login', [UserController::class, 'login']); |
After adding the login route, of course, we need to create the login function in UserController.php.
Login function in UserController.php
|
1 2 3 4 5 6 7 8 9 10 11 12 |
public function login(Request $request){ $incomingFields = $request->validate([ 'loginname' => 'required', 'loginpassword' => 'required' ]); if (auth()->attempt(['name'=> $incomingFields['loginname'],'password'=> $incomingFields['loginpassword']])){ $request->session()->regenerate(); } return redirect('/'); } |
In Laravel, there’s a fantastic way to create database tables. There’s a folder called migrations. Open the Command Prompt (Cmd) – Laravel can somewhat anticipate our intentions.
|
1 |
php artisan make:migration create_posts_table |
C:\wamp64\www\BackEndDeveloper\laravellwc> php artisan make:migration create_posts_table INFO Migration [C:\wamp64\www\BackEndDeveloper\LaravelLWC\database\migrations/2024_01_19_121142_create_posts_table.php] created successfully.
A new file has been created in the /database/migrations/ directory: 2024_01_19_121142_create_posts_table.php.
|
1 2 3 4 5 6 7 8 9 10 11 12 13 14 15 16 17 18 19 20 21 22 23 24 25 26 27 |
<?php use Illuminate\Database\Migrations\Migration; use Illuminate\Database\Schema\Blueprint; use Illuminate\Support\Facades\Schema; return new class extends Migration { /** * Run the migrations. */ public function up(): void { Schema::create('posts', function (Blueprint $table) { $table->id(); $table->timestamps(); }); } /** * Reverse the migrations. */ public function down(): void { Schema::dropIfExists('posts'); } }; |
Let us add some fields in the table that we need.
Database Schema builder
If you want to add fields to the migration file, you can open the newly created migration file, which is likely named 2024_01_19_121142_create_posts_table.php in the database/migrations directory.
Open the file and you will see a up method. Add the fields you need inside the up method using the Schema Builder.
|
1 2 3 4 5 6 7 8 9 10 |
public function up(): void { Schema::create('posts', function (Blueprint $table) { $table->id(); $table->timestamps(); $table->string('title'); $table->longText('body'); $table->foreignId('user_id')->constrained(); }); } |
Running php artisan migrate in Laravel executes all pending migrations that haven’t been run yet. In your case, it successfully ran the migration for creating the posts table. The output indicates that the migration 2024_01_19_122408_create_posts_table was executed successfully.
You can now find the posts table in your MySQL database with the specified fields. If you encounter any issues or need further assistance, feel free to ask!

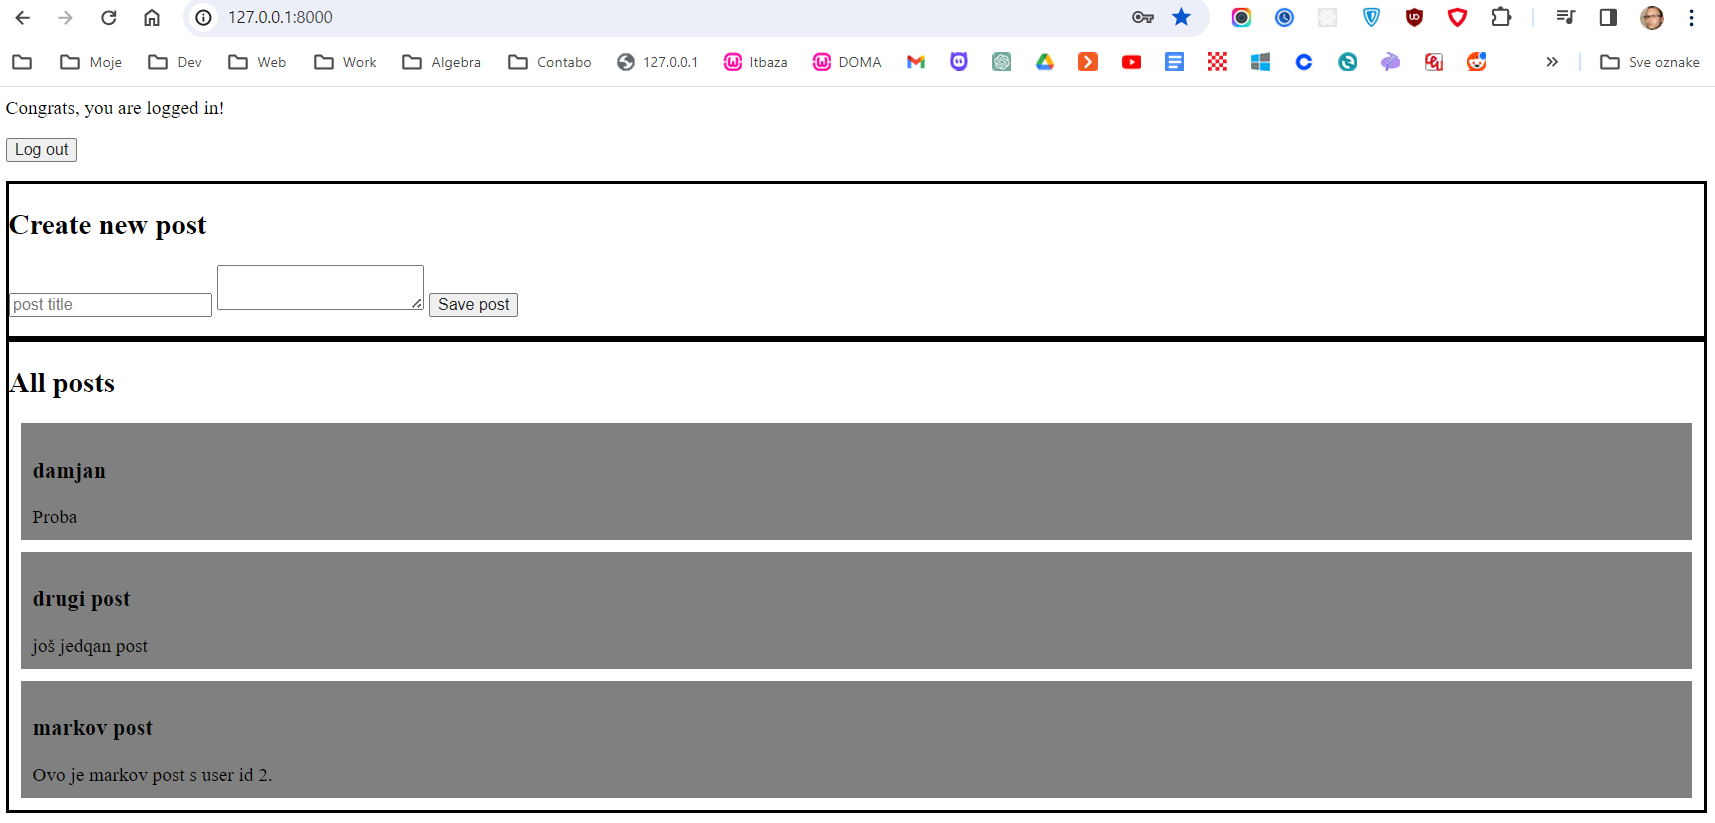
Create post view in home.blade.php
Let’s add functionality to the view home.blade.php
|
1 2 3 4 5 6 7 8 9 10 11 12 13 14 15 16 17 18 19 |
<body> @auth <p>Congrats, you are logged in!</p> <form action="/logout" method="POST"> @csrf <button>Log out</button> </form> <div style="border: 3px solid black;"> <h2>Create new post</h2> <form action="/create-post" method="POST"> @csrf <input type="text" name="title" placeholder="post title"> <textarea name="body" placeholder="body content..."> </textarea> <button>Save post</button> </form> </div> @else |
Let’s create the PostController for handling data. C:\wamp64\www\BackEndDeveloper\laravellwc> php artisan make:controller PostController
|
1 |
php artisan make:controller PostController |
INFO Controller [C:\wamp64\www\BackEndDeveloper\LaravelLWC\app\Http\Controllers\PostController.php] created successfully. Open PostController.php – it is located in app/http/controllers/PostController.php. A quick way to find new files is to use CMD for Mac or CTRL + P for Windows.
PostController.php
Let’s create a new function called createPost.
|
1 2 3 4 5 6 7 8 9 10 11 12 13 14 15 16 17 18 19 20 21 |
<?php namespace App\Http\Controllers; use Illuminate\Http\Request; class PostController extends Controller { public function createPost(Request $request) { $incomingFields = $request->validate([ 'title' =>'required', 'body' => 'required' ]); $incomingFields['title'] = strip_tags(($incomingFields['title'])); $incomingFields['body'] = strip_tags(($incomingFields['body'])); $incomingFields['user_id'] = auth()->id(); Post::create($incomingFields); } } |
Make model Post.php
We don’t have a model for ‘Post’, ‘post’ is underlined as an error in VSC editor. We need to create a model for posts, i.e., the ‘Post’ model. Laravel had the ‘User’ model, but there isn’t one for ‘Post’, so we need to create it ourselves. We create the model using the command in the CMD. Since the table in the database is named ‘posts’ in lowercase plural form, the model should be named in singular Uppercase form (first letter capitalized). This is the recommendation, and that’s how Laravel works.
|
1 |
php artisan make:model Post |
Let’s go to Post.php.
|
1 2 3 4 5 6 7 8 9 10 |
// we return the relation between the two entities User and the blog post - method hasMany // Given that we are in the User.php model, we say that User has many blog posts. // this function returns all blog posts created by the user // the first argument is the class with which we are trying to establish a relationship // the second argument is the field on the item to which it points the relation, i.e. in the post table, user_id public function usersCoolPosts() { return $this->hasMany(Post::class,'user_id'); // file is user, so user->hasMany->Post::claas - blog posts } } |
Web.php for posts
Let’s go to web.php, and let’s display all the posts for all users first…
|
1 2 3 4 |
Route::get('/', function () { $posts= Post::all(); return view('home', ['posts' => $posts]); }); |
To display posts, we need to create a view – home.blade.php
View home.blade.php for All posts
|
1 2 3 4 5 6 7 8 9 |
<div style="border:3px solid black;"> <h2>All posts</h2> @foreach ($posts as $post) <div style="background-color: gray; padding: 10px; margin: 10px;"> <h3>{{$post['title']}}</h3> {{$post['body']}} </div> @endforeach </div> |
Now we see all posts from all users. But what if we want only the posts of the logged-in user?
We will change this to not display all posts.
|
1 |
$posts= Post::all(); |
Let’s look at the first case, which does not use a relationship.
Web.php – posts without relationship use
|
1 2 3 4 |
Route::get('/', function () { $posts = Post::where('user_id', auth()->id())->get(); return view('home', ['posts' => $posts]); }); |
Although this works, the whole reason for setting up relationships is missed because in this line of code, we start from the perspective of a blog post. Let’s instead approach it from the perspective of the user model.
Web.php display user posts using User model
|
1 2 3 4 5 6 7 8 9 10 |
Route::get('/', function () { //$posts = Post::where('user_id', auth()->id())->get(); if (auth()->check()) { $posts = auth()->user()->usersCoolPosts()->latest()->get(); } else { $posts = Post::all(); } return view('home', ['posts' => $posts]); }); |
In the provided code, auth()->check() is used to check if a user is authenticated (we are calling an instance of a user model). If the user is authenticated (auth()->check() returns true), it fetches the cool posts belonging to that authenticated user’s instance of the user model. If the user is not authenticated, it retrieves all posts.
Also, note that calling auth()->user() without using the result won’t have any effect. If you intend to use the authenticated user in your logic, you might want to store it in a variable:
|
1 2 3 4 5 6 7 8 9 10 11 |
Route::get('/', function () { $user = auth()->user(); if ($user) { $posts = $user->usersCoolPosts()->latest()->get(); } else { $posts = Post::all(); } return view('home', ['posts' => $posts]); }); |
or like this
|
1 2 3 4 5 6 7 8 9 10 11 12 |
Route::get('/', function () { //$posts = Post::where('user_id', auth()->id())->get(); if (auth()->check()) { $posts = auth()->user()->usersCoolPosts()->latest()->get(); } else { $posts = []; // $posts = Post::all(); // return $posts; } return view('home', ['posts' => $posts]); }); |
Edit and delete posts
Let’s now enable editing and deleting posts.
Navigate to home.blade.php.
Below each post, let’s add edit and delete links.
The edit link functions with a simple GET request, while for deletion, we need to use a form since we are working within HTML, and we need to simulate the delete method.
|
1 2 3 4 5 6 7 8 9 10 11 12 13 14 |
<div style="border:3px solid black;"> <h2>All posts</h2> @foreach ($posts as $post) <div style="background-color: gray; padding: 10px; margin: 10px;"> <h3>{{$post['title']}}</h3> {{$post['body']}} <p><a href="/edit-post/{{$post->id}}">Edit</a>></p> <form action="/delete-post/{{$post->id}}" method="POST"> @csrf @method('DELETE') </form> </div> @endforeach </div> |
Let’s now set up these edit and delete buttons to actually perform actions.
Let’s set up a route in the web.php file to handle the GET request for editing a post by its ID. The controller handling post editing is named ‘PostController’
|
1 |
Route::get('/edit-post/{post}', [PostController::class, 'showEditScreen']); |
We need to create a method in your PostController.php to handle the editing logic.
|
1 2 3 4 |
public function showEditScreen(Post $post){ //if variable is $post like in routes, laravel performs database lookup automagically and fills the post id return view('edit-post', ['post'=> $post]); } |
Let’s create a new view file named edit-post.blade.php.
|
1 2 3 4 5 6 7 8 9 10 11 12 13 14 15 16 17 18 |
<!DOCTYPE html> <html lang="en"> <head> <meta charset="UTF-8"> <meta name="viewport" content="width=device-width, initial-scale=1.0"> <meta http-equiv="X-UA-Compatible" content="ie=edge"> <title>Document</title> </head> <body> <h1>Edit post</h1> <form action="/edit-post/{{$post->id}}" method="POST"> @csrf @method('PUT') <input type="text" name="title" value="{{$post->title}}"> <textarea name="body">{{$post->body}}</textarea> <button>Save changes</button> </body> </html><code> |
To handle the PUT request for updating changes, you need to define a route in your web.php file. Here’s an example:
|
1 |
Route::put('/edit-post/{post}', [PostController::class, 'actuallyUpdatePost']); |
We need to create a function for the update; we are inventing function names. Let’s go to PostController.php. If we are not the author of the post, we should not be able to edit and update the post.
|
1 2 3 4 5 6 7 8 9 10 11 12 13 14 15 16 |
public function actuallyUpdatePost(Post $post, Request $request){ if(auth()->user()->id !== $post['user_id']){ return redirect('/'); } $incomingFields = $request->validate([ 'title' => 'required', 'body' => 'required' ]); $incomingFields['title'] = strip_tags($incomingFields['title']); $incomingFields['body'] = strip_tags($incomingFields['body']); $post->update($incomingFields); return redirect('/'); } |
Let’s now set up the ability to delete. Let’s create the route again in web.php.
|
1 2 |
Route::put('/edit-post/{post}', [PostController::class, 'actuallyUpdatePost']); Route::delete('/delete-post/{post}', [PostController::class, 'deletePost']); |
Let’s proceed to set up the delete functionality by defining a route in web.php and creating the corresponding function in PostController.php.
|
1 2 3 4 5 6 |
public function deletePost(Post $post) { if(auth()->user()->id === $post['user_id']){ $post->delete(); } return redirect('/'); } |
Displaying username
For the final details, let it display “by” and the username. Let’s start from the perspective of the blog post and examine the post.php model. We create a new function, a relationship…
|
1 2 3 |
public function user(){ return $this->belongsTo(User::class, 'user_id'); } |
This code assumes that your Post model has a foreign key user_id referencing the id column in the users table. Laravel will inspect this relationship and automatically generate a join query for us.
Adjust the relationship based on your specific database schema. Once the relationship is set up, you can use it in your views to display the username associated with each post.
For example, in our view:
|
1 2 |
<!-- Assuming $post is the Post model instance --> <p>by {{ $post->user->username }}</p> |